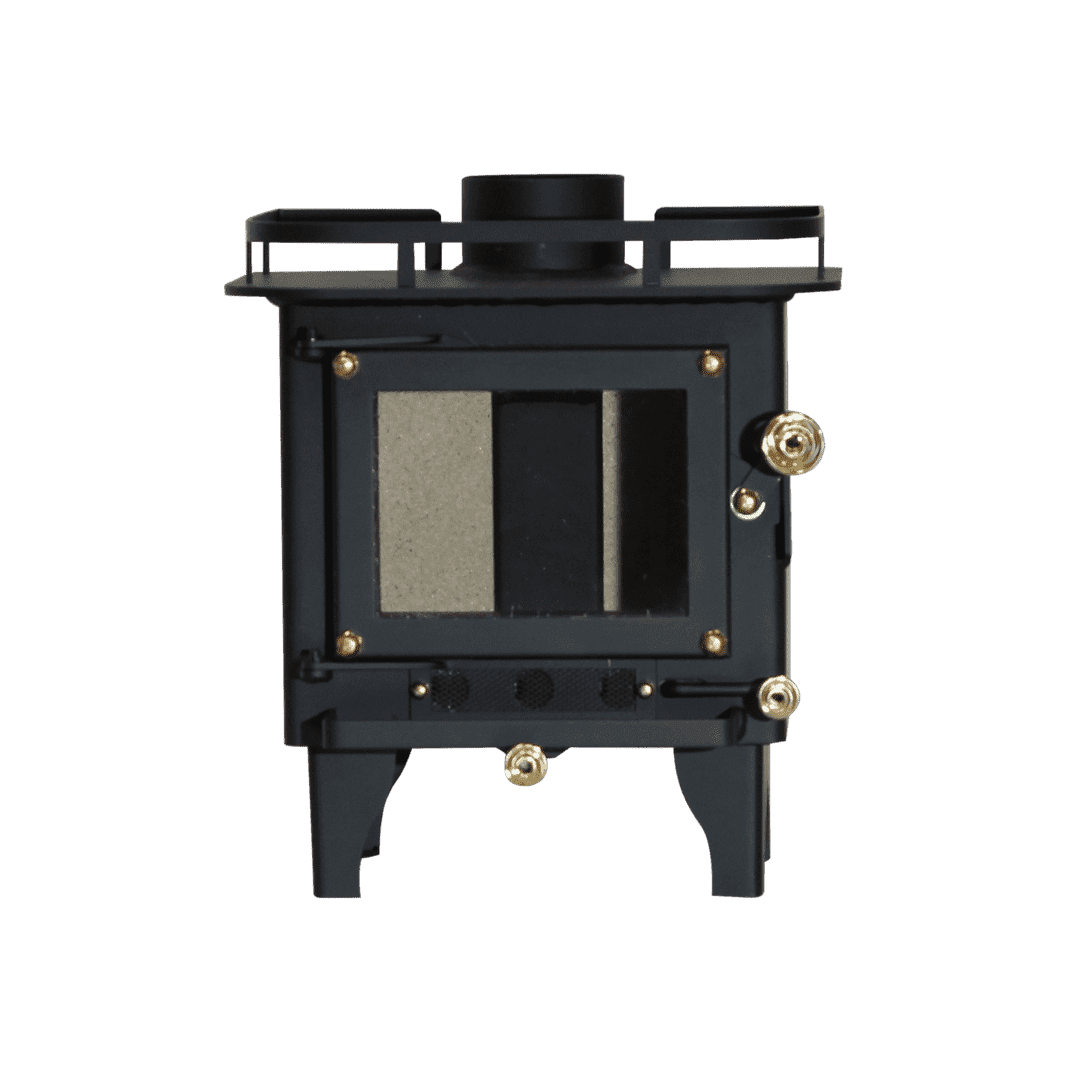
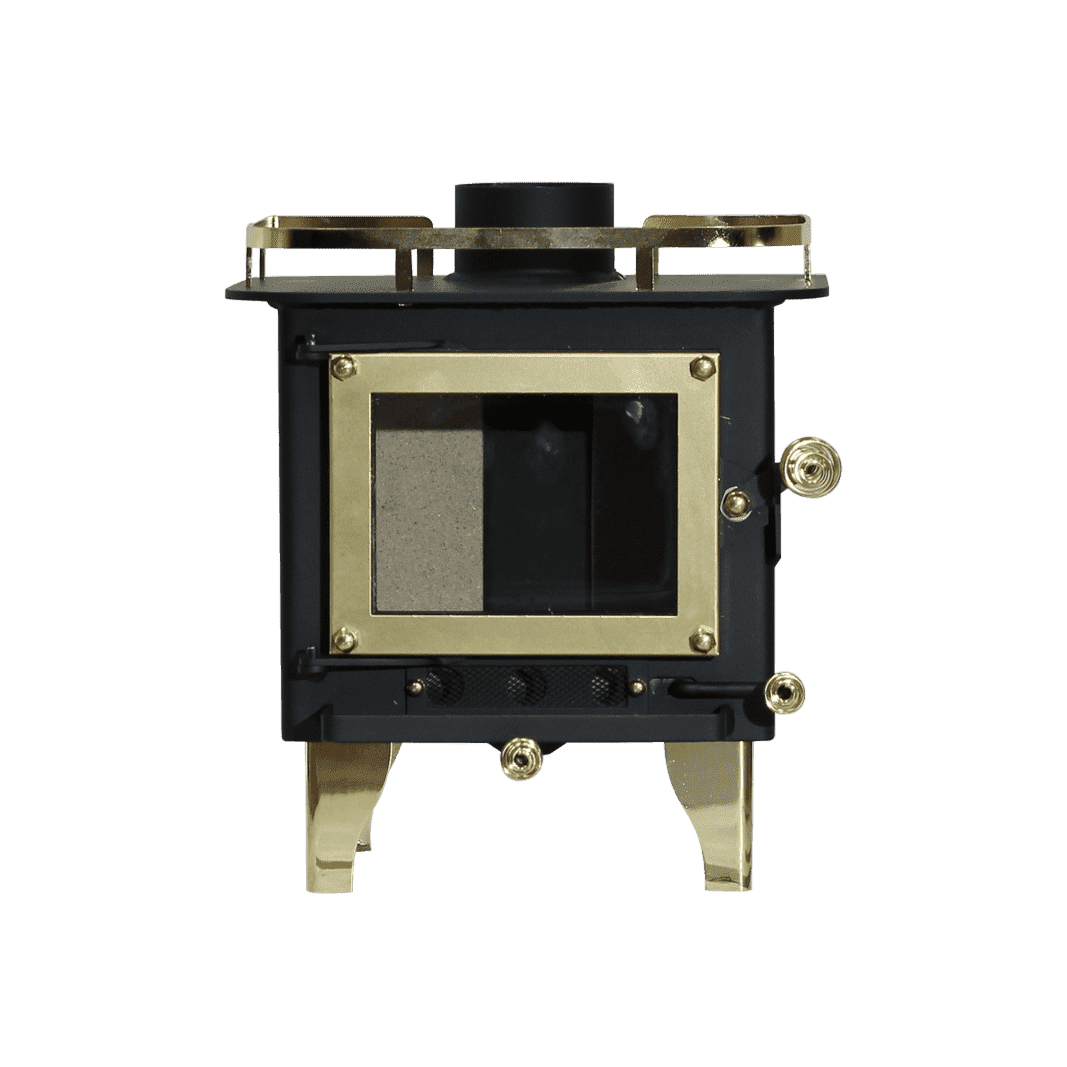
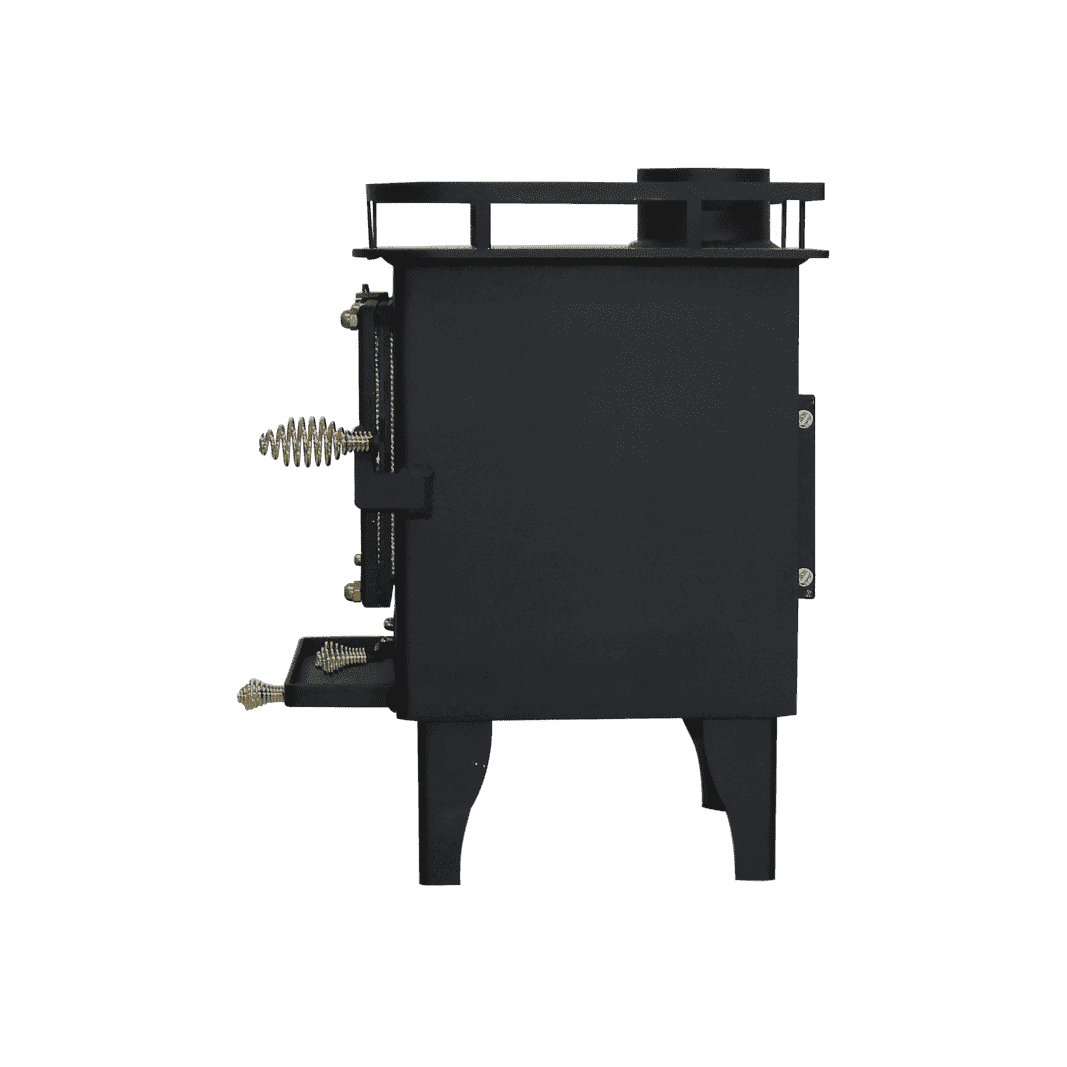
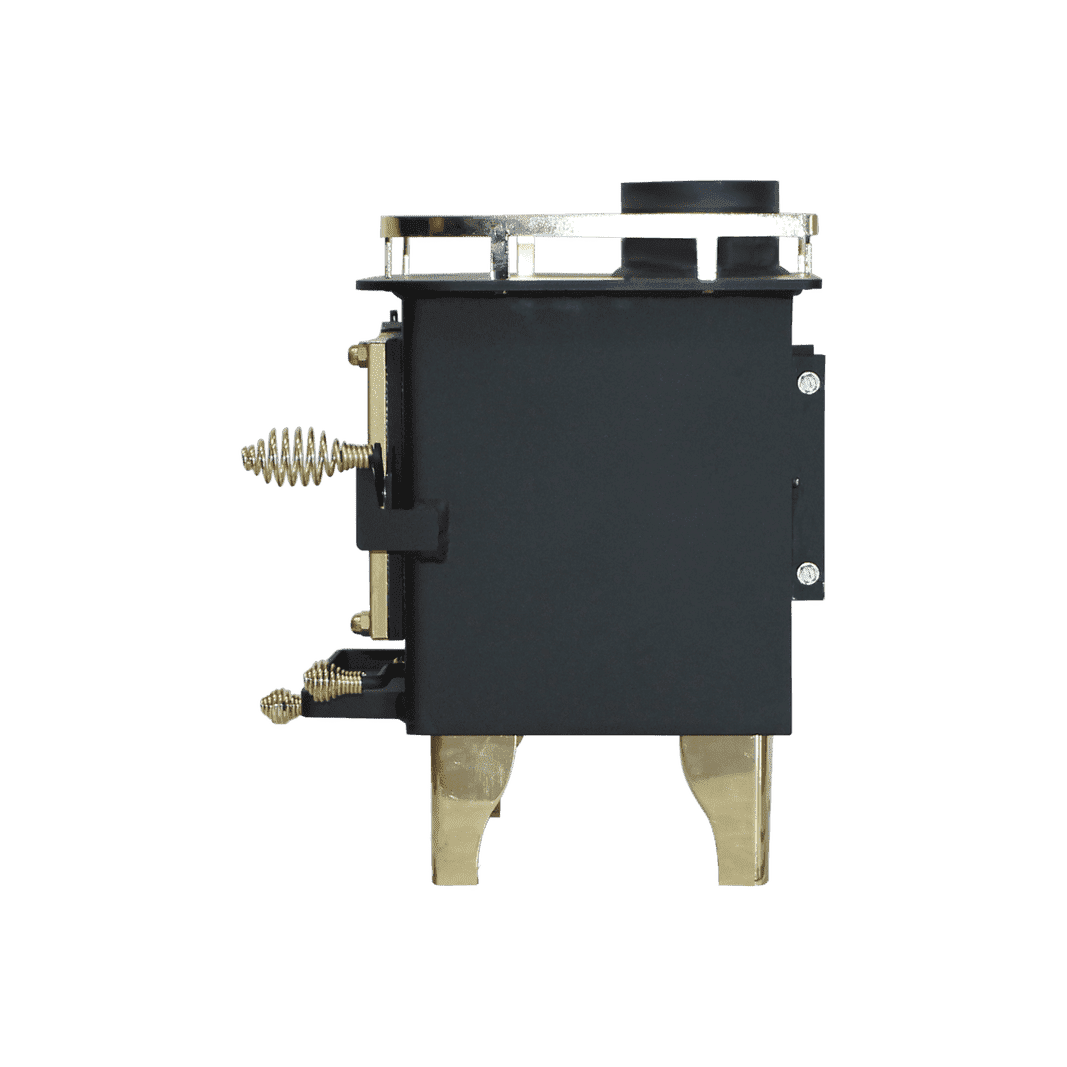
General Information
How Draft Is Produced & How To Reduce It
Draft is generated in the flue pipe. When you first light a fire in the stove, the heat warms up the flue and air climbs upward, creating a convection effect. This upward pull of air is what creates the draw of air into the fire box allowing the stove to function. The flue pipe being the “engine” of the stove is why a double wall flue pipe is required.
The double wall constructions maintains flue gas temperatures which greatly improves the draft and pipe cleanliness. There are many factors when it comes to draft creation such as; the temperature of the flue, the length of the flue system, weather conditions, and the space where the stove is installed among other factors.
Draft is reduced dramatically when any bends are introduced.
This is why we do not recommend to introduce any elbows in the flue system.
Draft can also be reduced if you do not run the flue pipe past the highest point of the roof, due to a lack of moving air over the cap. This is crucial for optimal stove performance and safety.
Types Of Flue Pipe
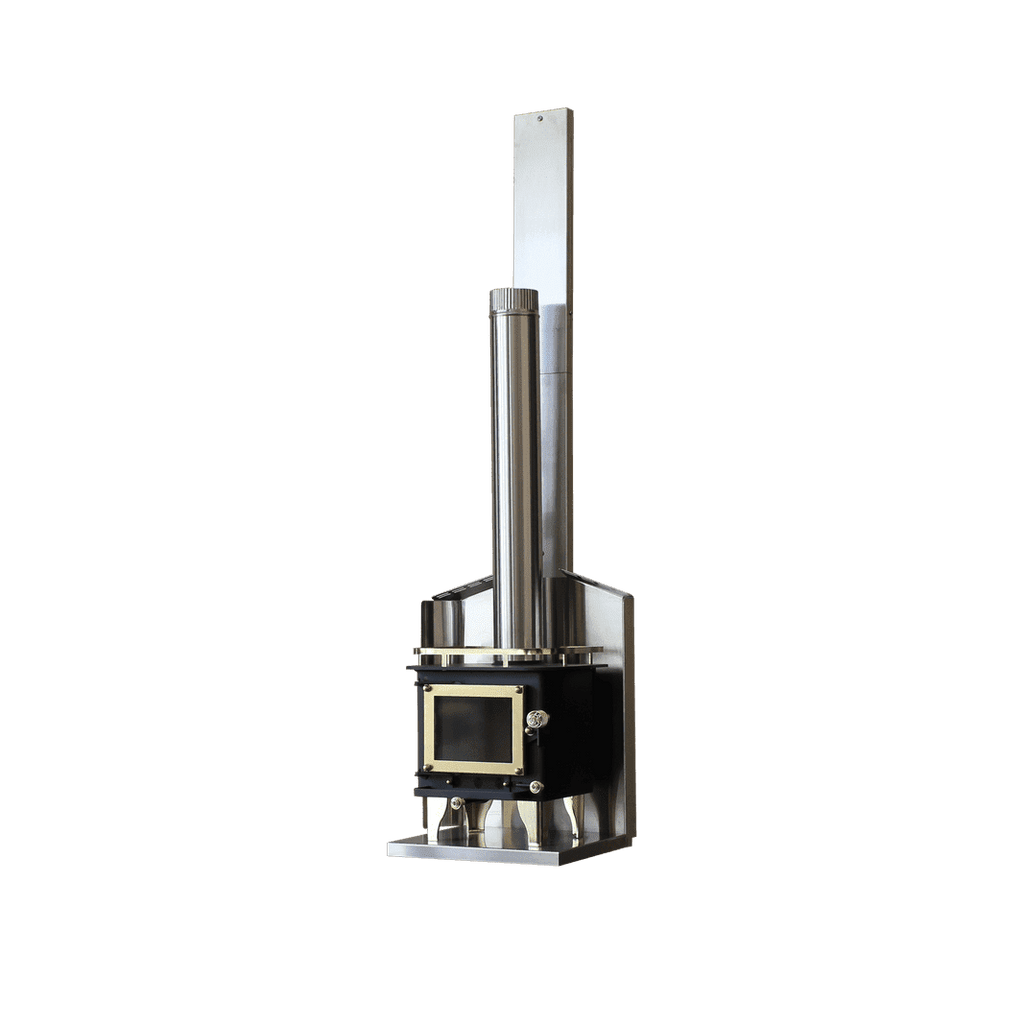
There are three main types of flue pipes: Single Wall, Double Wall and Insulated. We suggest to only use our 3" double wall flue pipe in conjunction with our insulated pipe to prevent the cooling of the gasses and for optimal draft.
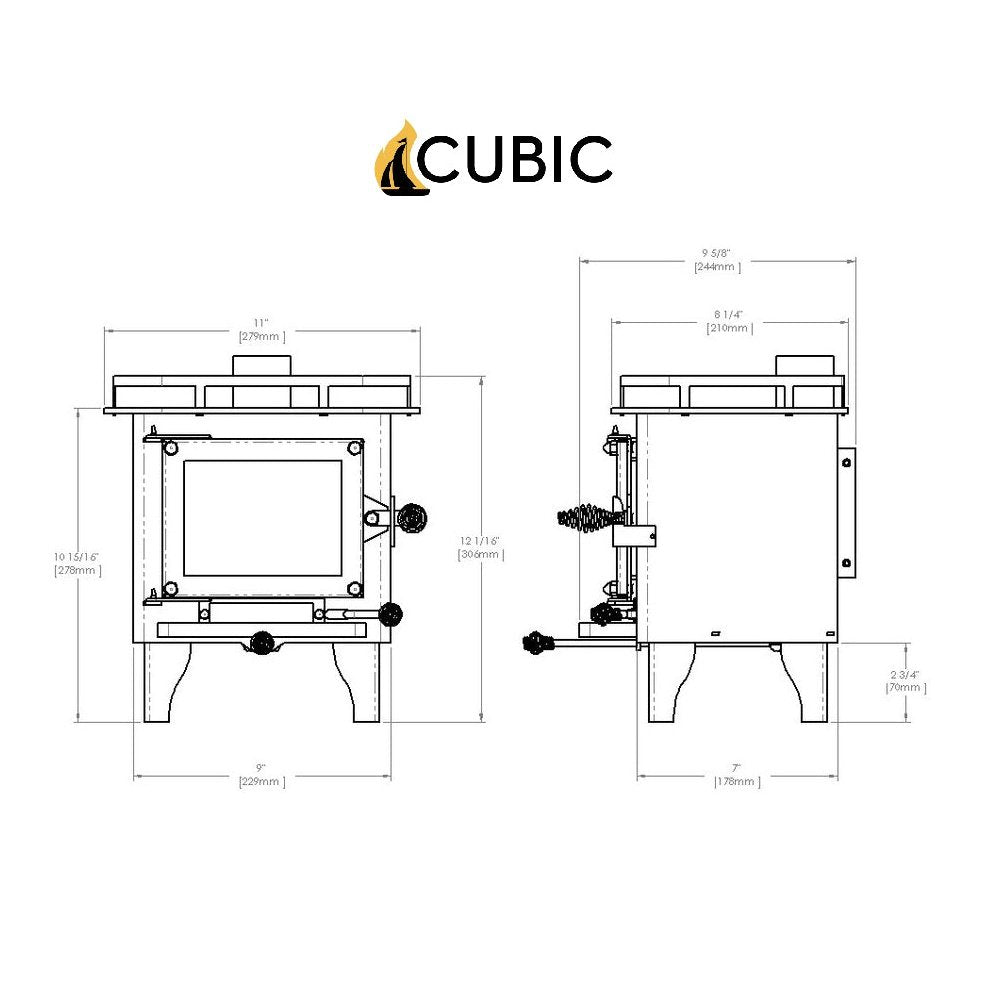
Our stoves require a 3” double wall flue pipe.
A single wall flue pipe should never be used on our stoves.
A double wall flue pipe will maintain the temperature of the flue gases as hot as possible, to allow for proper draft and to have the least amount of creosote buildup.
The pipe should be insulated as it goes through the ceiling roof and all the way to the cap. This can be achieved with our insulated pipes.
What Is Creosote? + Cleaning Process
Creosote is created by the process of burning wood.
The buildup of creosote inside the flue pipe and the cap will happen over time. Whenever flue gases come in
contact with a cold surface, (either the pipe or the cap), the creosote will condensate and stick to that surface.
This is why you must check the flue pipe regularly to determine the rate at which this process happens so you can create a cleaning schedule in accordance with your setup.
It is recommended to clean every week or so, until a schedule has been created.
The rate of this process is dependent on many factors; quality of wood, the type of flue pipe you use, temperature of the stove and flue pipe, as well as how you set the settings on the stove.
As mentioned above, keeping the flue gases hot will keep the build up to a minimum and using a double wall flue pipe while insulating the section of flue pipe on the exterior of the space - will help keep the flue cleaner for a longer period.
See cleaning instructions here
Exiting through a wall
Our stove and flue pipe are quite small. Any elbow you introduce creates turbulence, restricting the draft which reduces the performance of the stove. When you exit out a wall you would introduce two elbows. One to go out, and one to go up. Also since you exit at a lower point in the space.
You have more flue pipe outside than if you exited out the roof. This would require you to insulate a much larger portion of your flue pipe. This is a more expensive set up, it requires more work, and you will end up with a lesser performing stove. For these reasons it is not suggest to exit through a wall.
How to maintain a clear window
This is dependent on a few factors that are important to keep in mind if your goal is to maintain a cleanliness of the stove.
Firstly, the amount of heat in the fire box. Secondly, if you are burning dirty or humid wood and also the amount of wood you put into the stove.
These are all contributing factors to consider. If you add too much wood at once you will drop the temperature of the stove and the glass will darken.
Once it comes back up to temperature the glass will begin to clean it self. When reloading the firebox, pull the coals to the front (without blocking the air intake) and place the wood toward the back and this will allow the window to stay clearer for longer.
Also when you introduce a new piece of wood, it can take 5-10 minutes for the moisture/humidity, and oils to be released. During this time you will see a darkening of the glass due to the humidity being released and will clean it self once the wood has its moisture removed.
Insulation
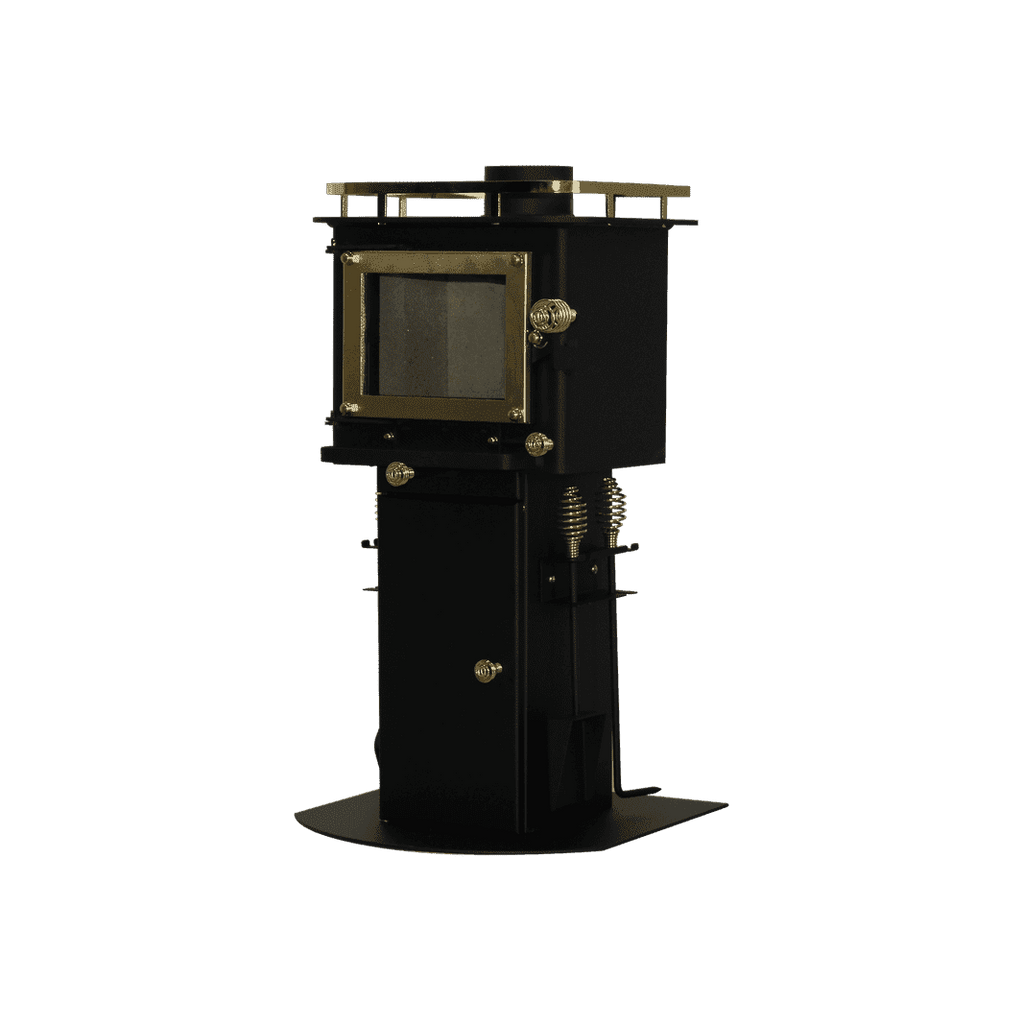
Our stoves are insulated, this reflects the heat back into the stove improving the functionality of the secondary combustion system. It also holds heat and radiates it over a longer period of time.
Secondary combustion
The secondary combustion works by pulling oxygen from the secondary air intake, mixing it with the gases produced by the burning wood and gets reignited. This allows the stove to use energy that would otherwise be lost.
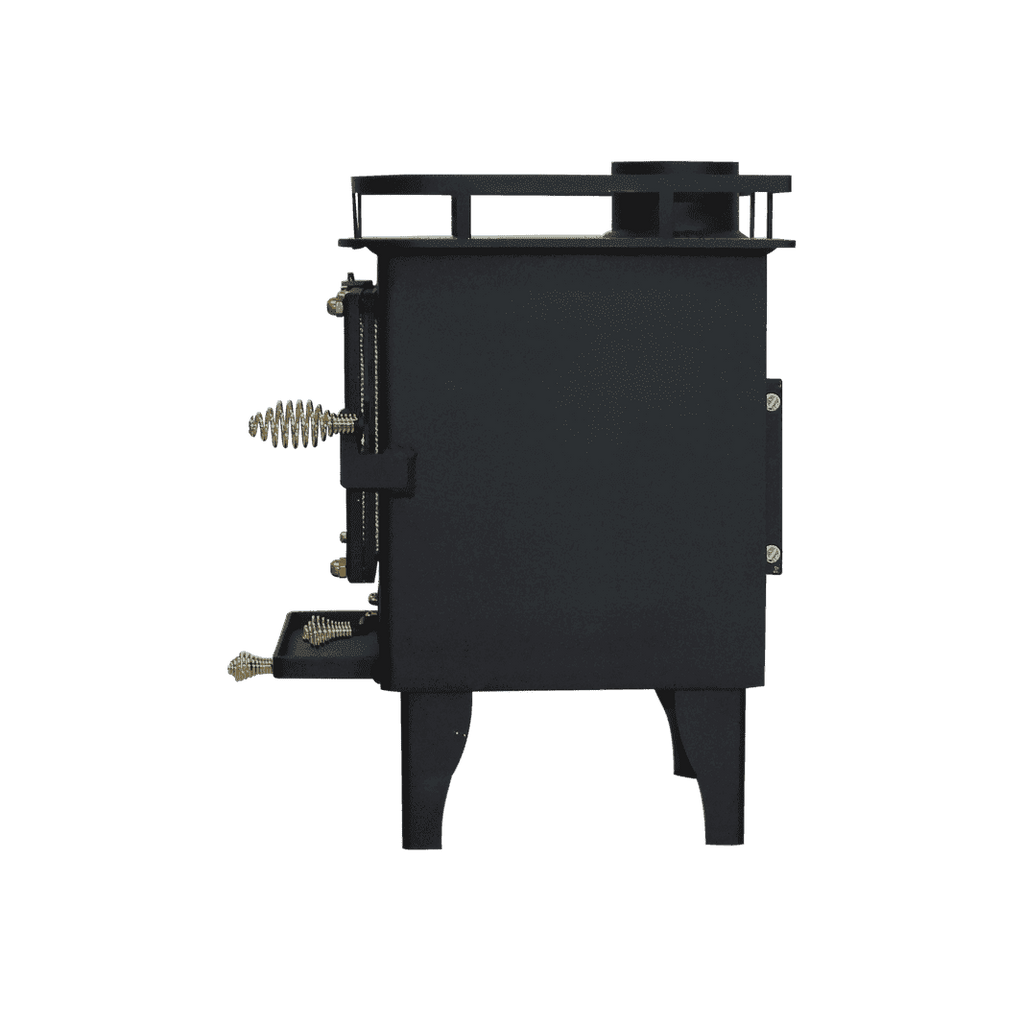
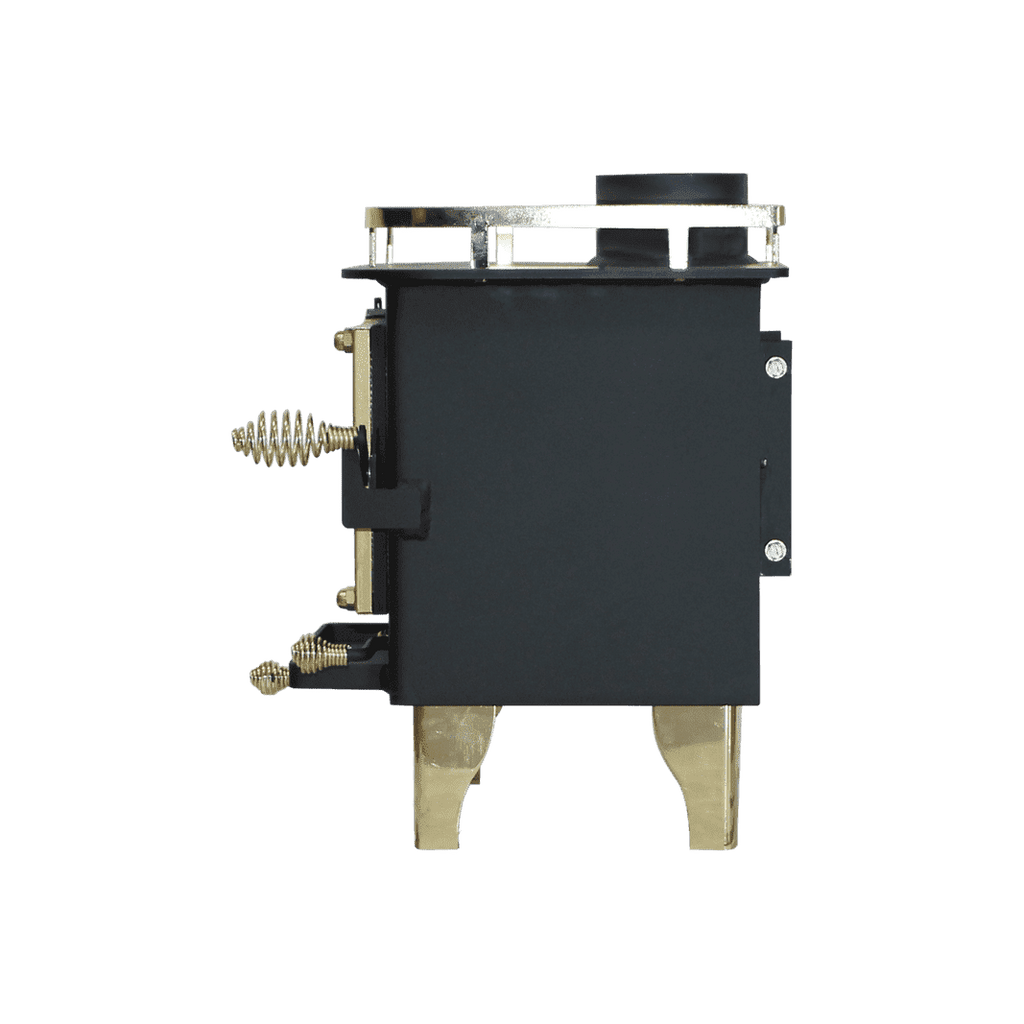
This system works when the stove is up to temperature. You can control the secondary combustion by opening and closing the slider found on the underside of the stove. Pulling the lever forward towards you to open, push towards the stove to close.
Quotes and shipping
For a price or shipping quote, simply select the items you wish to purchase, input your information and it will give you an exact price with no obligation to buy!
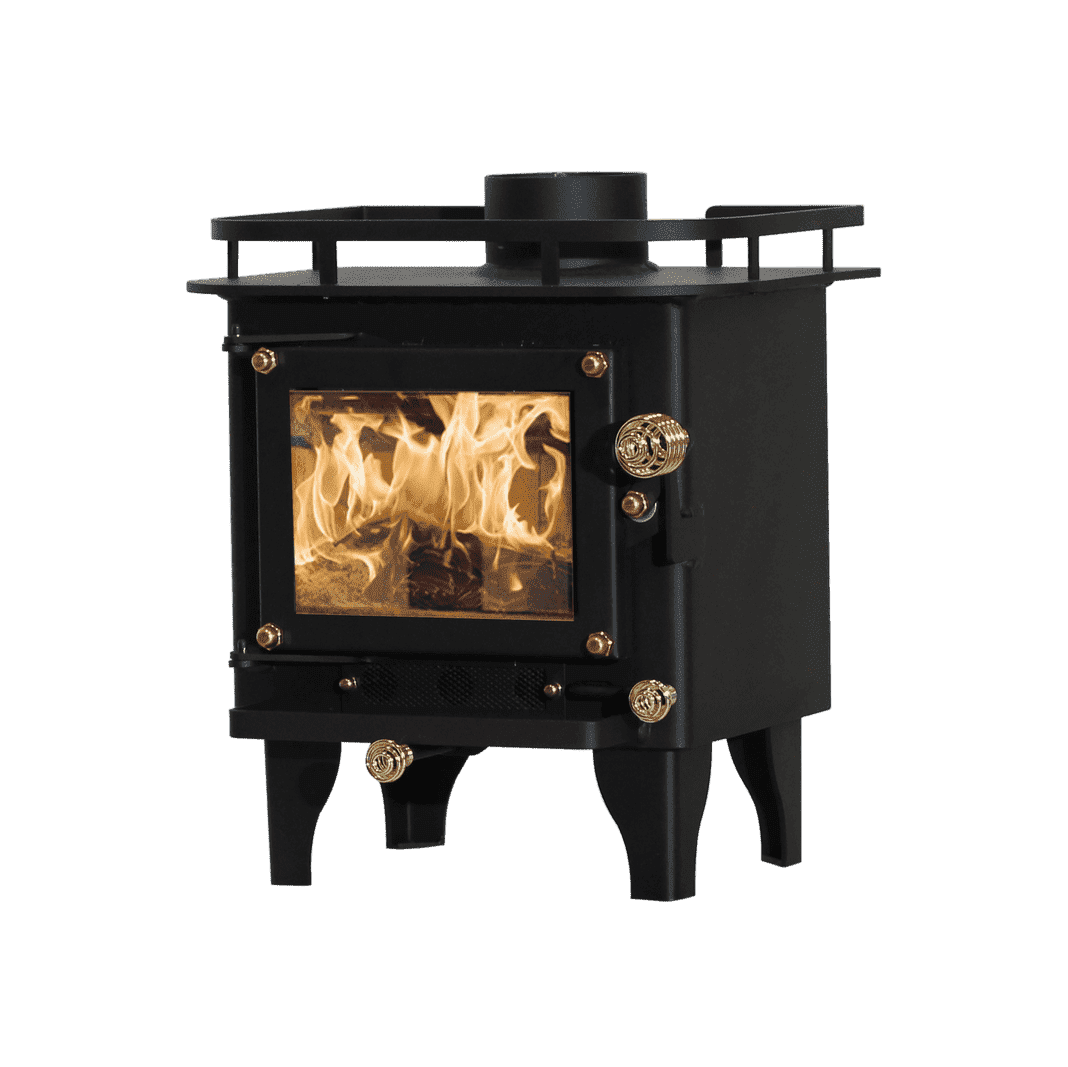
Lighting the fire/extinguishing the fire
When starting a fire in a Cubic Mini Wood Stove it is made easy by placing 2 or 3 balls of crumpled up paper and a few small pieces of wood on top. Light the paper and the little pieces of wood will catch fire. Once that happens let it go for a few minutes to allow the pipe to heat and start creating draft.
You can then go ahead and introduce a piece of wood. It is suggested to leave the door open until the piece catches fire, then you can close the door. Once your fire is lit it is suggested to fully open the primary air vent to allow the flue pipe to heat up as much as possible.After 20 minutes or so you may reduce the primary air intake and open the secondary air intake to activate the secondary combustion system which will burn hotter and cleaner.
When you wish to put out the fire, simply close all air vents. You will see the flame die down immediately and in a little while the embers will die as well.
Complete and total combustion of fuels
With normal use of the stove, the ashes out is normally only needed every few days. To prevent the buildup of ash too quickly you must wait until the wood is almost completely consumed before adding more wood.
If you add wood prematurely ashes will build up quicker than they are supposed to.
Types of Fuel
With a Cubic Mini Wood Stove there are a few fuel types you may use; soft wood, hard wood, pressed logs, and coal. You can use soft wood to get the fire going. Once it is lit you can use hard wood. Pressed logs are a great choice as they are easy to cut to size, and they also burn very hot and clean.
You must read the package to see if it can be used in an air tight stove and that it is not made with glue. Coal is another choice and is similar to using wood.
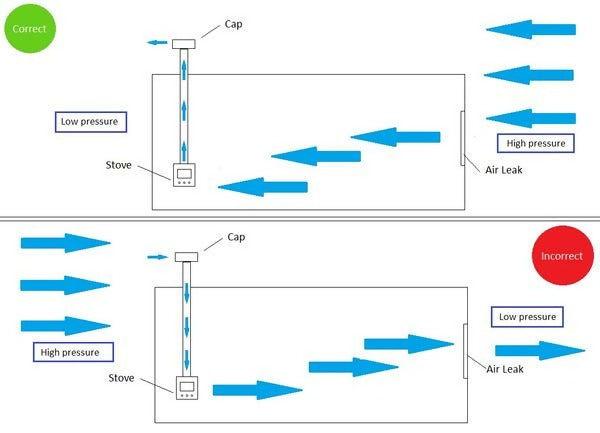
Reason for Draft Issues
In most cases a lack of draft is caused by not maintaining flue gas temperatures, having an elbow or worst, to have two - or to have a large portion of non-insulated flue pipe outside.
If those are not the cause of the draft problem then it is most likely air coming and going from the wrong area. If you have a window open downwind and not upwind the air will come in down the pipe and want to exit through the window instead of coming in through the window and out the pipe.
This can be resolved by opening a different window or orienting either your boat or RV in the proper direction if possible. Another reason could be due to an obstacle near by the cap. If this is the cause, you would have to run the flue pipe up and above the obstacle allowing for free moving air to pass over the cap.
If your pipe is not maintaining its flue gas temperature, that can also cause problems. However, as mentioned above you can insulate it to combat that cooling effect.